Process
The Studio
Traditions, built on practice, research, invention, and ink.

The Studio
Tools, materials, and close observation shape every print.
From Block to Print
The Craft
“Relief” print making, with some exceptions, dates back as far as 7th century China. The most basic element of “relief” printmaking is the printing block. In more modern times it is a 1/8th inch layer of linoleum, glued to a plank of wood. The linoleum surface can be tooled in any imaginable way to create an interesting image through carved areas and textures.


Each color usually requires a separate block, meaning there can be as many or few as is practical. Many of my prints are between six and eight blocks per edition and because printmaking produces a mirror image, each block must be hand carved in reverse.
An ink roller coats the surface of the carved block, onto which a sheet of archival paper is positioned precisely, then cranked firmly between the rollers of the printing press. The paper is then peeled from the block to reveal an impression.

Tools of the Trade
Rollers, brayers, and gouges kept within arm's reach.

Cut by Hand
Every line is cut in reverse, one pass at a time.


Intaglio
A SECOND TRADITION ABBREVIATED GUIDE
Etched copper plates · centuries-old tradition
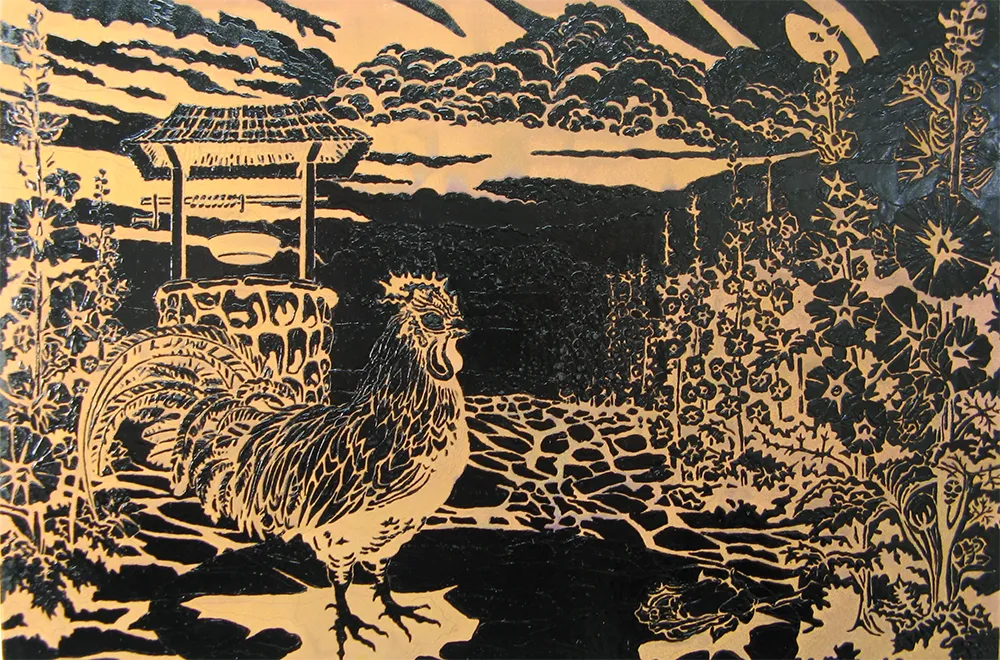
Wishing Well
Line and texture bitten across the full plate.
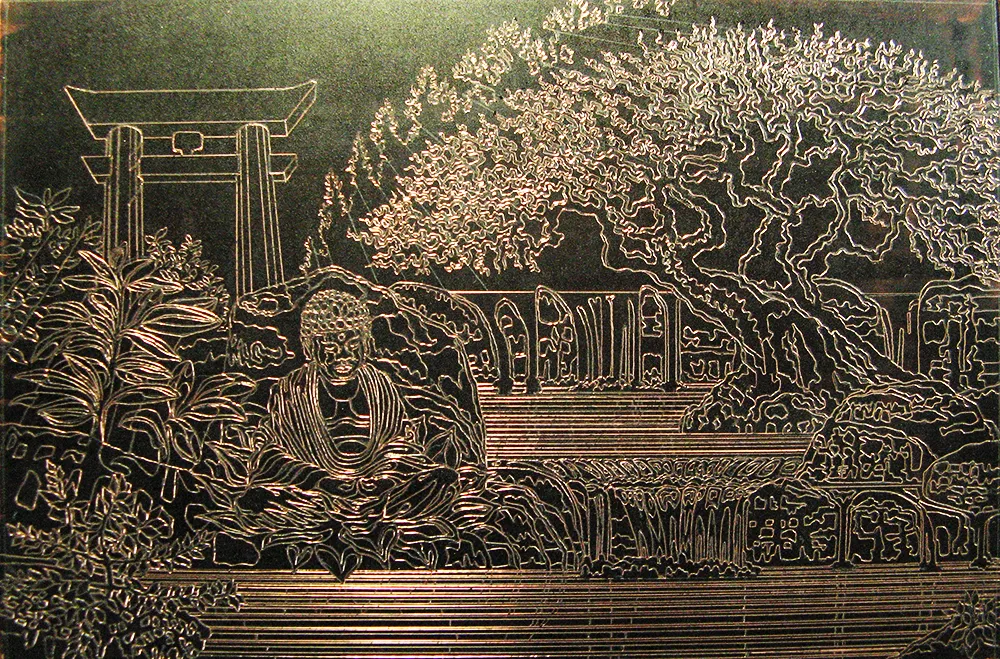
Lotus
Fine scribed line drawn directly into the surface.
Intaglio is a printing practice of record reaching back hundreds of years. A copper plate becomes the canvas that is drawn onto, scraped, and manipulated with specialized tools to open its polished and asphalt - coated surface to then be submerged in a pool of Nitric acid. Acid eats into the metal, then delicate surface patterns begin to appear and scribed lines form grooves.
Ink is worked into all the details, both sensitive and deeply bit, then the polished surface is wiped clean so the image lives entirely below the plane of the plate. A sheet of damp cotton paper is placed over the inked plate and cranked through the press under great pressure where the ink and paper fibers are married together across the topography of the copper plate to create a record of tooling and acid etching.
When the paper is peeled away, the image emerges — describing the slight tonal variations of the greys, the intention of a deep black scribe and the intervening burnishing for whites. The careful application of ink into the varied surface of the plates along with the warmth of natural paper, make these intaglio prints feel less like printed multiples and look more like detailed singular images to be explored.

Hand Tools
Scrapers, needles, and burnishers.
Silk Screen (Serigraph)
Stencil and mesh · ancient and new
Screen printing is brand new and ancient all at once because it combines the oldest printing method, the stencil, with the relatively new use of polyester or nylon fabric mesh. Examples of stencil printing dating back 100,000 years have been found in caves.
The mesh material is tightened over a square wooden frame, much like a drum. A pool of ink is puddled on top of the screen, and a squeegee, like those used for washing windows, is scraped across the stencil embedded in the screen, leaving a very crisp shape on the image surface.
So much more could be said here, but these and a wide group of other printing formats serve as multipliers to one another, making a whole new universe of possibilities available to us.
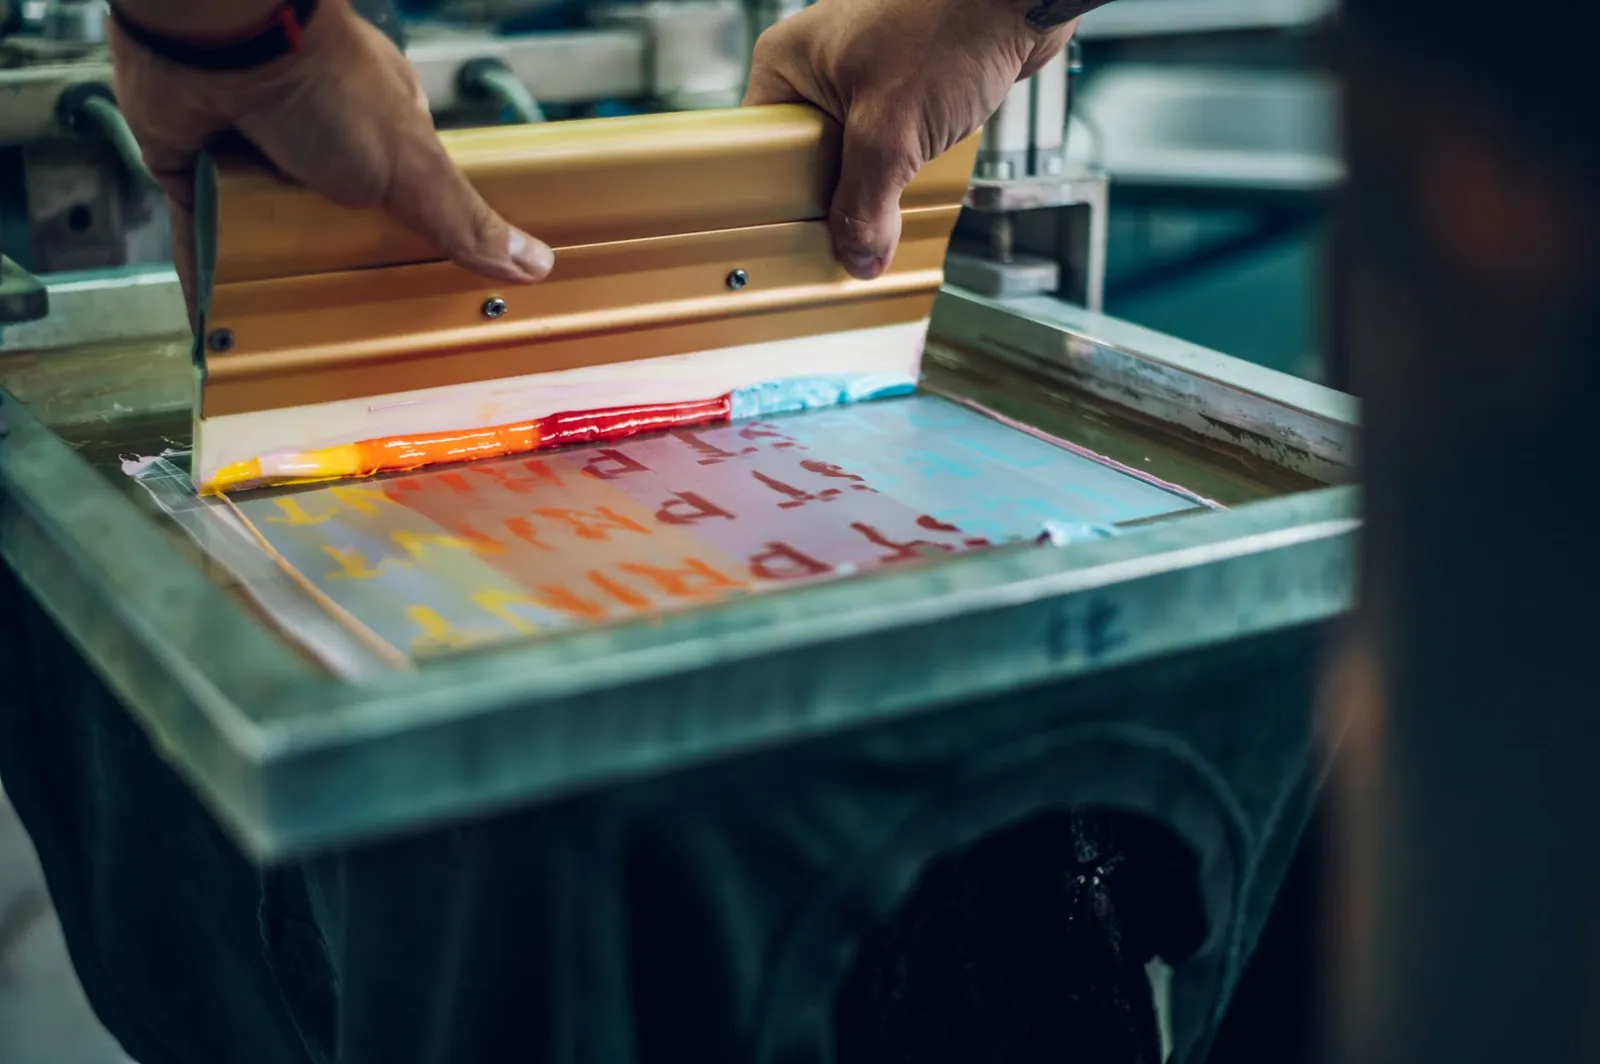
The Screen
Ink drawn across mesh with a squeegee.